Installing PROLIN Power Server
If you are upgrading from version 10.5.1 to PROLIN Power Server 2016 or later, you must:
- Stop the PROLIN Power Server 10.5.1 Service
- Uninstall the older version using the icons in the app menu
Installation Steps
To install PROLIN Power Server, follow these steps:
- Open your internet browser.
- Navigate to the installation website or enter the URL (e.g.,
http://support.prolin.com) in the address bar. - On the website, enter your username and password, then click Enter.
- On the Welcome page, click Download PROLIN Power Server installation files to download the MSI package.
- Locate the downloaded MSI installer, double-click it to launch, and click Next on the welcome screen.

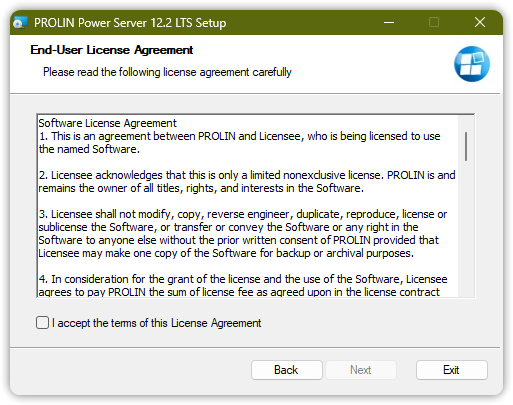
- Read the License Agreement. If you agree, check the box I Accept the terms of this License Agreement, then ’click Next.
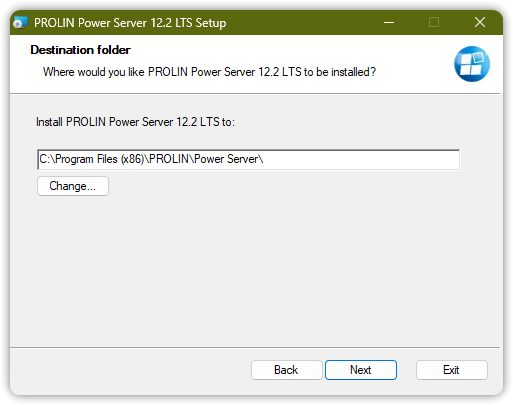
- Choose the destination folder for the installation files. If correct, click Next.
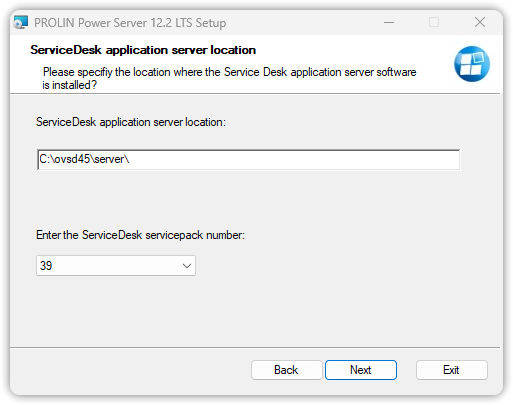
- Provide the location of the Service Desk server and the corresponding Service Desk service pack number.
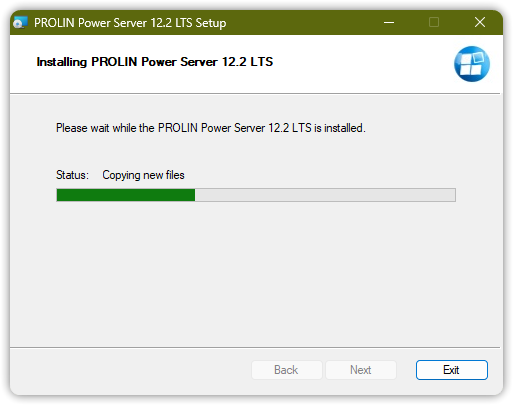
- Once ready, click Install to begin installation.
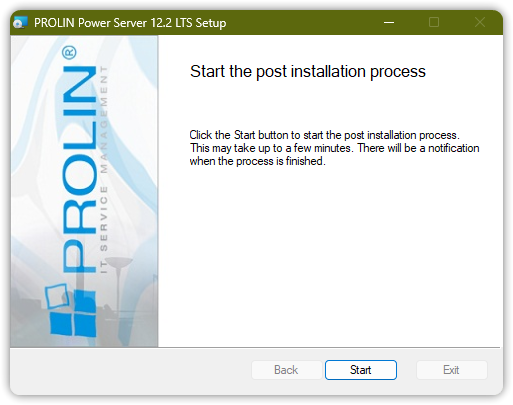
- After the files are installed, you must run the post-installation process:
- Click the Start button to begin
- The process may take several minutes
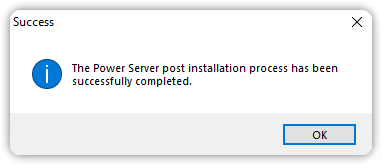
- When complete, a message will indicate whether the setup was successful
- Click OK to continue
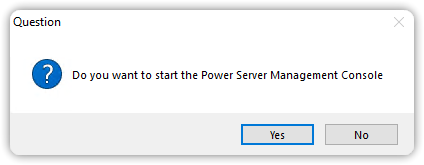
- After installation, you will be prompted to launch the Power Server Management Console.
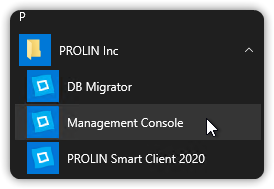
You can also start PROLIN Power Server from the Start Menu:
Start → PROLIN Inc → Power Server
Recommendation: After installation, refer to the Getting Started chapter in the
PROLIN Power Server Operations Manual for next steps.