Setting the Default Form
When you open a form from a view, the default form is used to show you the item. One form may have fewer fields but reacts quickly and contains just the right fields for the task. Another form may have the right fields in the main page, and lesser used fields in the tab pages. Each form is better suited for a specific situation.
Forms may be created for a specific task, or you may have a preference for a certain form that allows you to quickly find what you need.
Steps to Set the Default Form
- Navigate to a view of the item for which you want to set the default form.
- Open the Application menu, choose New.
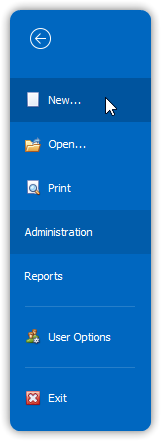 → Set the default form through the application menu.
- In the New Item dialog box, the current default form will be highlighted.
- Select the form you want to set as the new default.
- In the lower-left corner of the New Item dialog box, check the box:
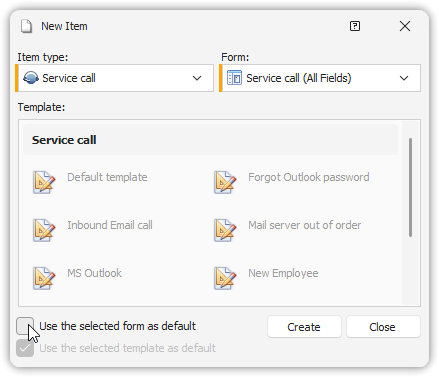 “Use the selected form as default”.
- Click Close.
✅ The new form is now set as the default.
The next time you open an item, this default form will be used.
Alternate Ways to Open the New Item Dialog Box
- In the console, from the Home tab, open the New list and choose Choose Form…
- In a form of the item for which you want to change the default:
- Open the Application menu, choose New…
- From the Home tab, open the New list and select Choose Form…