Changing the Print Layout
When printing a view or form directly in PROLIN Smart Client, a default layout and print settings are used. These defaults usually suffice, but you can customize them for more control over the appearance of printed output.
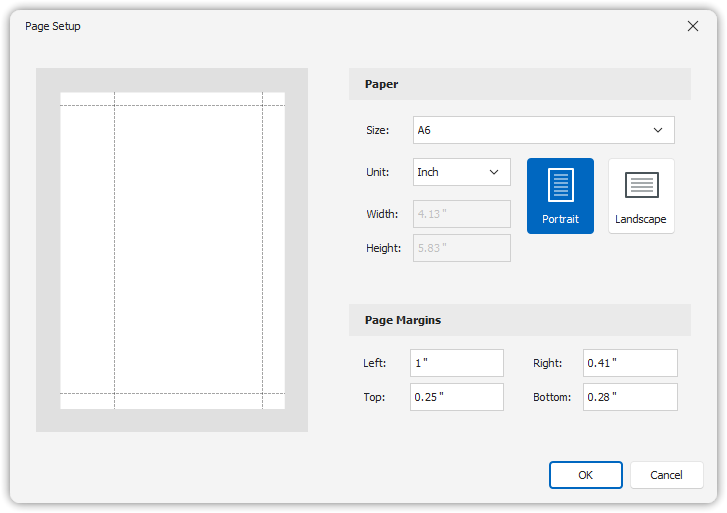
Steps to Customize the Print Layout
1. Open Print Preview
- Open the view you want to print.
- Choose Print Preview from the Application menu.
A Preview window will appear, providing layout configuration tools.
2. Layout Options in Print Preview

Within the Preview window, use the following controls:
Print Options
- Click Options (in the Print group)
- In the Print Options dialog:
- Choose what to print
- Select how it should be formatted
Scaling
- Click Scale (in the Page Setup group)
- Options include:
- Fit content to the printable area
- Increase or decrease the print size
Background and Watermark
- Use the Page Background or Watermark commands to customize page visuals
3. Printing the Report
- Click Print to open the Print dialog
- Select a printer and finalize settings
- Click Quick Print to send the report directly to the default printer
Notes on Print Options by View Type
Table Views
- Selected Rows (Options tab):
Print only selected rows or groups from the table view - Auto Width (Behavior tab):
Stretch view to page width- When disabled, prints with the same column widths as seen in the console
Chart Views
- None (resizing option):
Use current chart rendering as-is- Low-resolution charts may appear pixelated in print
Forms & Scheduler Views
- No custom print options are available for these view types