Working with Table Views
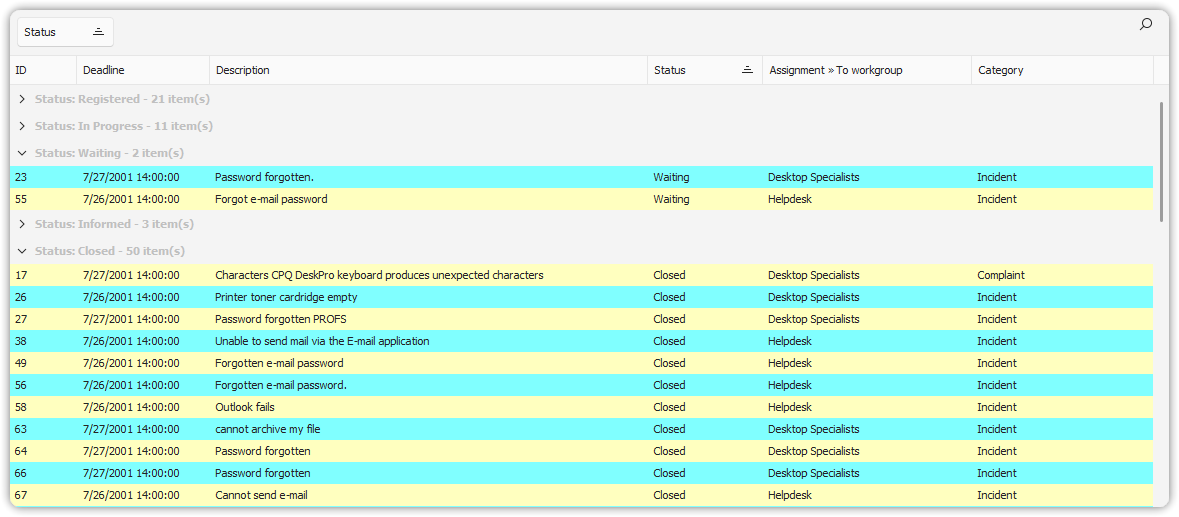
Table views represent your data in a tabular format and provide powerful features for formatting, grouping, sorting, and filtering.
Finding Items
To open an item in a form, double-click on the item line in the table view.
Scroll bars are available to navigate long lists of items.
Filtering Items
Filtering helps you narrow down results in a table view. You can apply pre-defined filters or create your own, including custom and auto filters.
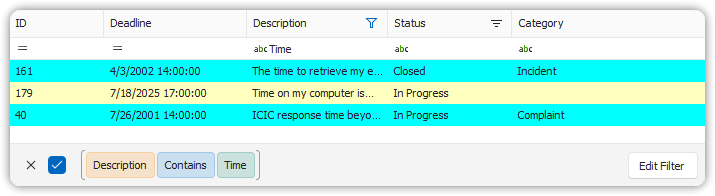
Creating a Filter on a Column

- Hover over the column header until the filter icon (funnel) appears.
- Click the filter icon.
- Select a filter from the dropdown menu.
- The filter box appears below the view, showing the applied filter.
Creating a Custom Filter
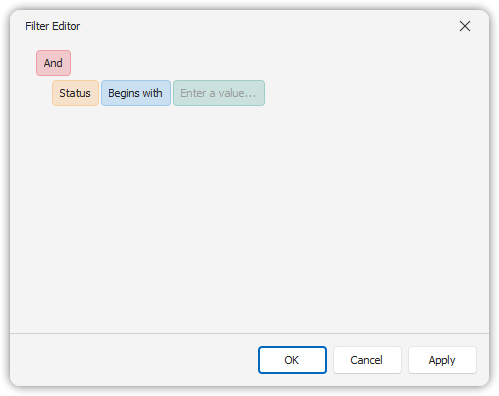
- Click the filter icon and select Custom.
- Use the Custom AutoFilter dialog to define conditions.
- Click Edit Filter in the filter settings box to refine using the Filter Editor.
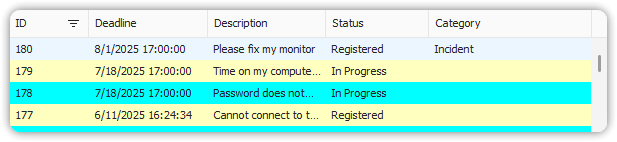
Creating Auto Filters
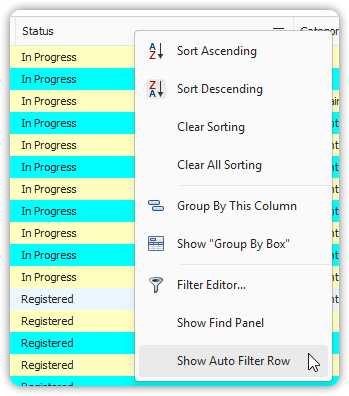
- Right-click on a column header.
- Choose Show Auto Filter Row.
- Enter values into the filter row. Filtering applies immediately.
- To remove the filter row, right-click the header and select Hide Auto Filter Row.
Filtering on Date Fields
- Open the filter menu on a date column.
- Choose from:
- Show All
- Specific Date
- Prior to This Year
You can click on calendar values to zoom in/out on decades, years, months, or select a specific date.
Grouping Items
Grouping provides better visual organization in table views.
How to Group
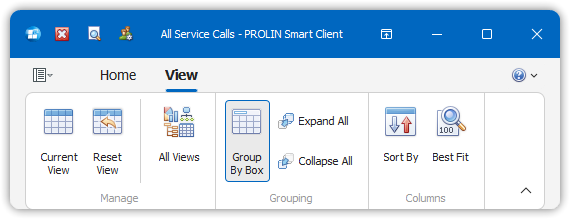
- Open the table view.
- On the View tab, click Group By.
- Drag a column header into the Group By box.
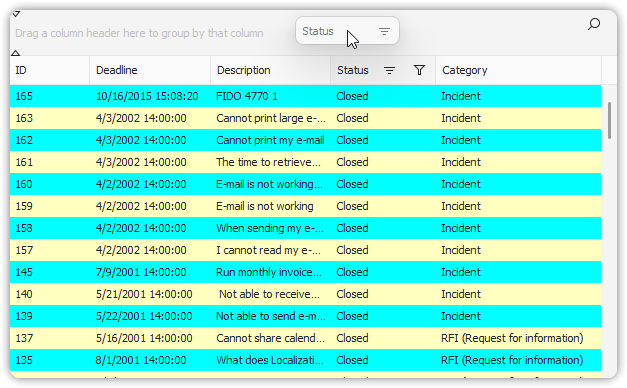
You can filter grouped columns just like standard columns.
Notes on Grouping
- Avoid grouping by free text fields (e.g., Description), as values are often unique.
- Date fields support interval grouping:
- None = Day
- Day, Month, Year, Smart
The Smart interval groups dates using friendly labels like:
- Yesterday, Last Week, Next Month
- Today, Tomorrow, Monday, etc.
Manipulating Columns
You can customize visible columns in a table view to better fit your screen or printing needs.
Adjust Column Width
- Hover near the edge of a column header until the double arrow appears.
- Drag to resize.
Note: Width changes are temporary and not saved between sessions.
Copying Information
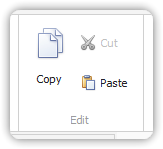
To copy data from a table view:
- Select one or more rows.
- Press
Ctrl + Cor use Copy from the Home tab. - Paste into another application with
Ctrl + V.
Note: If you use Paste within a view, a new item form will open to receive the pasted info.