Controls Positioning
This guide explains how to construct professional-looking reports by precisely aligning elements in the Report Designer using two alignment tools:
- Snap Grid
- Snap Lines
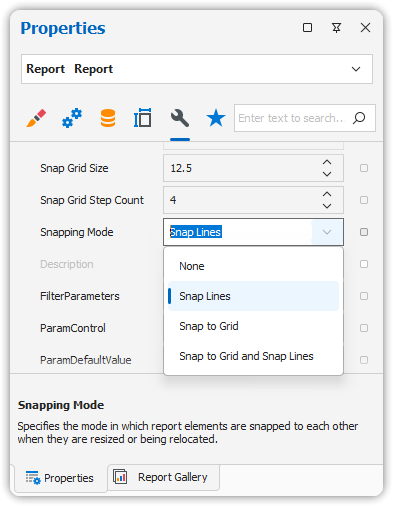
You can choose your preferred alignment method by setting the report’s Snapping Mode.
Snap Grid
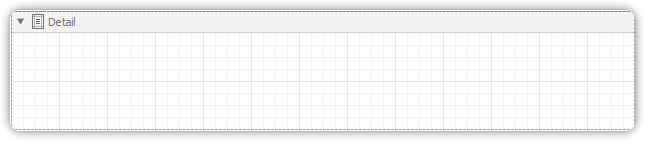
When designing a report in the Design Panel, elements are aligned based on the Snap Grid. This helps maintain consistent spacing and alignment between report elements.
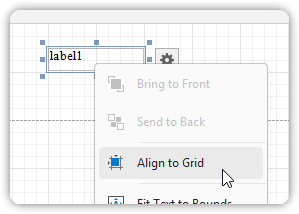
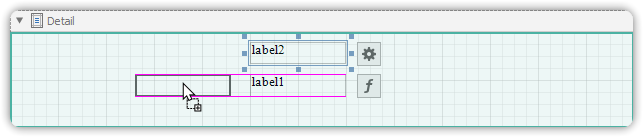
Aligning Controls to the Grid
To align a control to the grid:
- Right-click the control.
- In the context menu, click Align To Grid.
Grid Visibility
To toggle grid visibility:
- Select the report.
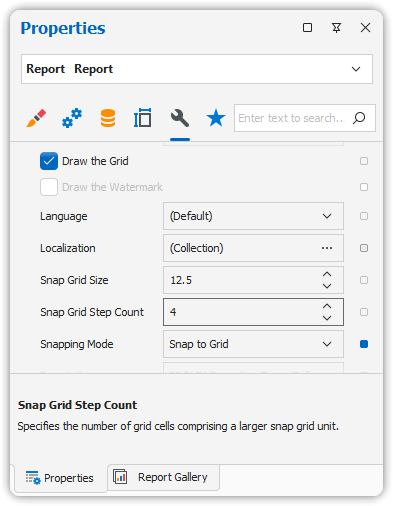
- In the Property Grid, set the Draw the Grid option.
Adjusting Grid Size
- The Snap Grid Size can be modified.
- Size is measured in the report’s unit of measurement.
Snap to Grid Behavior
The Snap to Grid option determines whether controls automatically snap to grid lines when moved.
When Snap to Grid is Enabled
- To align controls to the grid:
- Keyboard: Use Arrow keys.
- Mouse: Move the control normally.
- To move controls freely (ignoring the grid):
- Keyboard: Use Arrow keys while holding CTRL.
- Mouse: Move the control while holding ALT.
When Snap to Grid is Disabled
- The default behavior is reversed:
- Use CTRL (keyboard) or ALT (mouse) to enable snapping temporarily.
Snap Lines
Instead of using the Snap Grid, you can use Snap Lines for control positioning and alignment.
What Are Snap Lines?
- Guidelines that appear when a control is being moved.
- Indicate distance between the control and nearby elements (like bands or other controls).
Customizing Snap Line Spacing
- For each report element:
- Bands and Panels use padding.
- Other controls use margins.
- These values can be adjusted using the Property Grid.
⚙️ Use the right snapping mode (Grid or Lines) depending on your report layout needs for optimal precision and visual clarity.