Add Bookmarks (Document Map)
This tutorial explains how to add bookmarks to a report (also called a Document Map), allowing users to easily navigate through the report during print preview.
We’ll demonstrate this feature using a grouped report.
Steps to Create a Report with Bookmarks
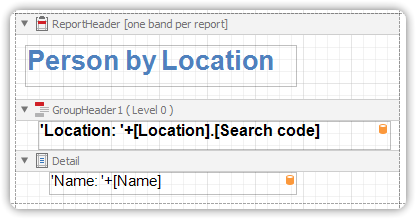
Step 1: Add a Bookmark in the Report Header
- Click the Label control in the Report Header Band to select it.
- In the Property Grid, set its
Bookmarkproperty to the same value as its text.
Example:
Bookmark = "Person by Location"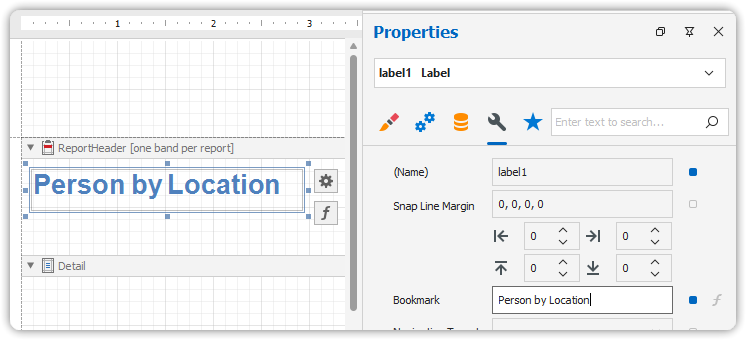
Step 2: Bind a Bookmark in the Group Header
- Select the Label control in the Group Header Band.
- Since this label is data-bound, bind the
Bookmarkproperty via the(Data Bindings)section in the Property Grid. > Note: you should probably click the ‘f’ expressions button to bind the property
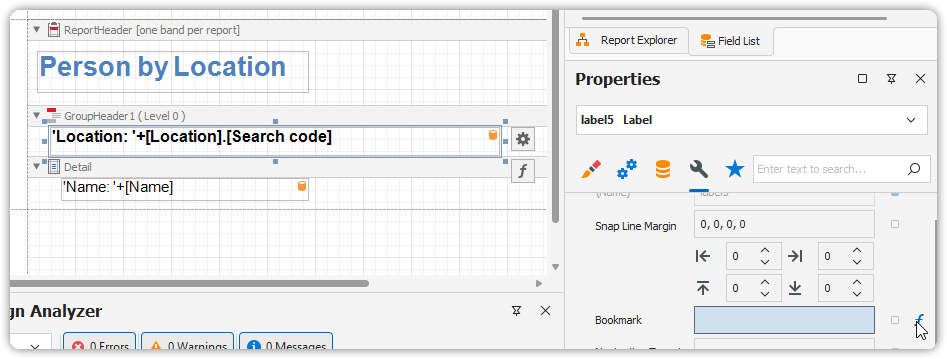
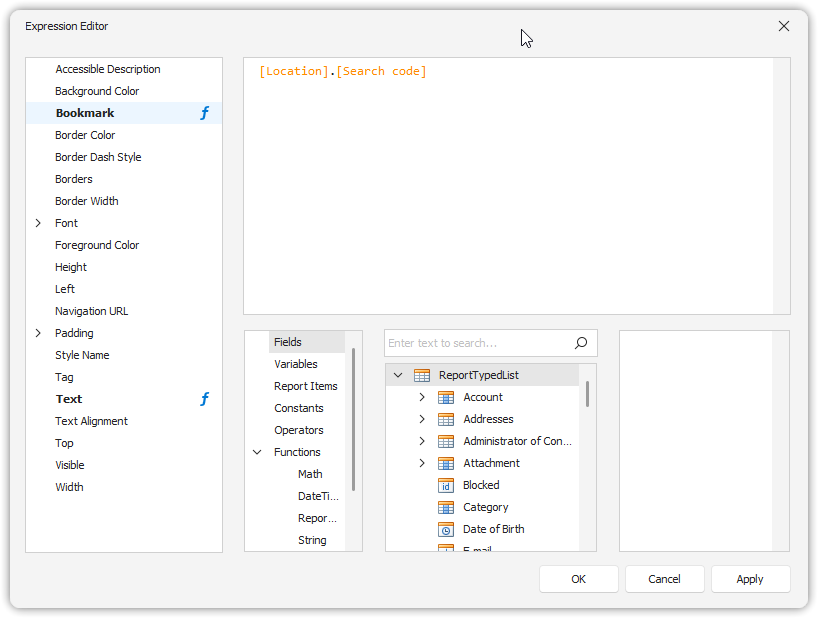
- Set it to the same data field that the label displays.
🎨 You can also apply value formatting to the
Bookmarkproperty:
Example:Bookmark = "Category {0}"
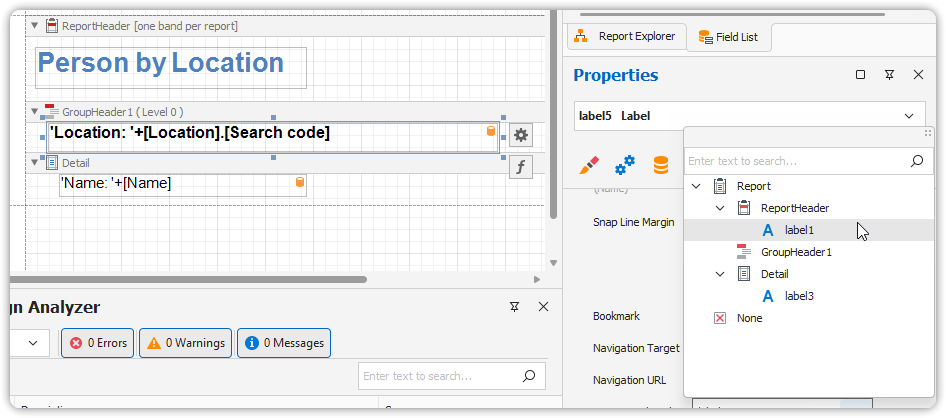
Step 3: Set Parent Bookmark
- For the same label (in the Group Header), set:
Bookmark= bound field (as above)Parent Bookmark="Report"
Preview the Result
Switch to the Preview Tab to view the document.
The Bookmarks panel (usually on the left side) will now display a navigable tree structure, with links to each section of the report.
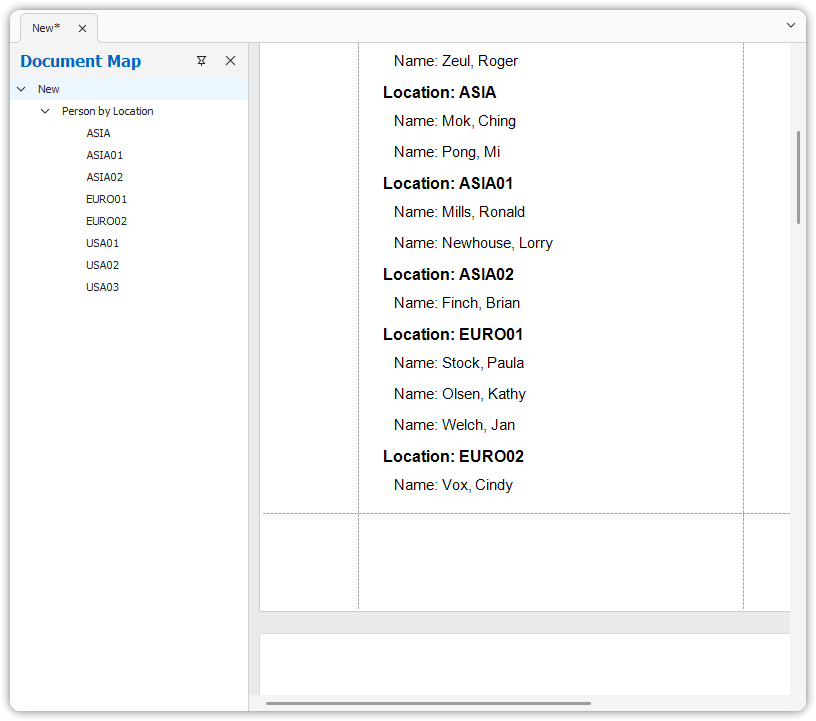
🧭 This feature greatly improves the user experience for long or grouped reports by providing quick section