Change Page Settings of a Report
In the Report Designer, you can configure the page settings of a report using one of two approaches:
1. Use Default Printer Settings
You can configure the report to use default printer settings for properties like:
- Orientation
- Margins
- Paper size
In this mode:
- The corresponding page properties in the Property Grid are disabled (grayed out).
- Useful when reports are printed across different environments with varying printer configurations.
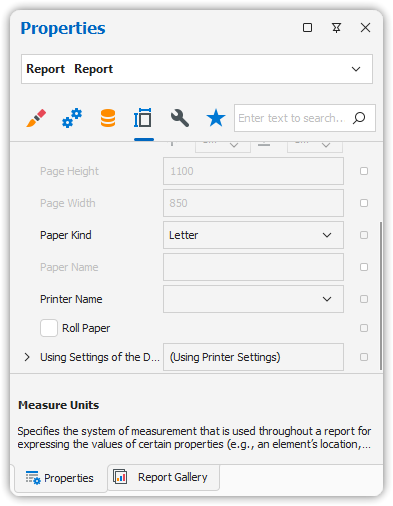
2. Specify Custom Report Page Settings
While designing your report, you can manually configure page settings via the Property Grid.
Available Settings:
- Page Orientation: Portrait or Landscape
- Margins: Set manually in the report’s measurement units
- Paper Kind:
- Choose from predefined paper sizes
- Select
Customto define your own paper size - Use
Paper Nameto select a printer-defined paper size
📝 Note: These settings affect the design surface. If controls extend beyond the page width, red warning marks will appear.
To disable these warnings:
- Set
Show Printing Warningsproperty toNo.
3. Modify Settings in the Preview Tab
You can also adjust page settings directly from the Preview Tab.
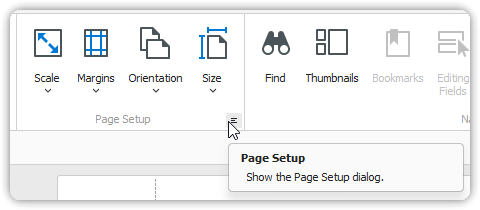
Options Available:
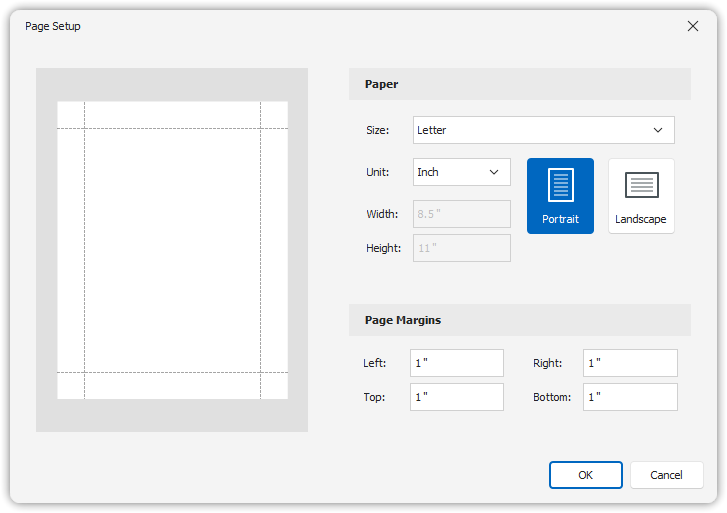
- Click the Page Setup button in the toolbar to:
- Adjust layout before printing or exporting
- Select the printer
- Visually adjust margins by dragging the dashed lines shown in the preview
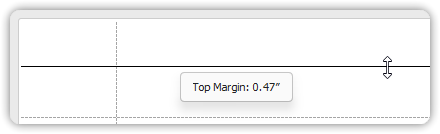
Tip: Adjust Tooltip Measurement Units
To change the units shown in margin tooltips, set the report’s Measure Units property to one of the following:
Hundredths of an InchTenths of a Millimeter