Add Page Numbers and System Information to a Report
This guide explains how to insert page numbers, system date and time, or user name into a report using the Page Info control.
Typically, this type of information is added to the Page Header, Page Footer, or Page Margin bands.
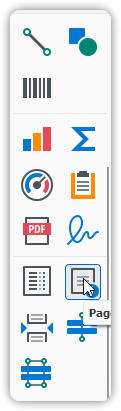
Insert the Page Info Control
- Locate the Control Toolbox.
- Drag the Page Info control onto your desired band.
Then follow the steps for the specific type of information you’d like to display.
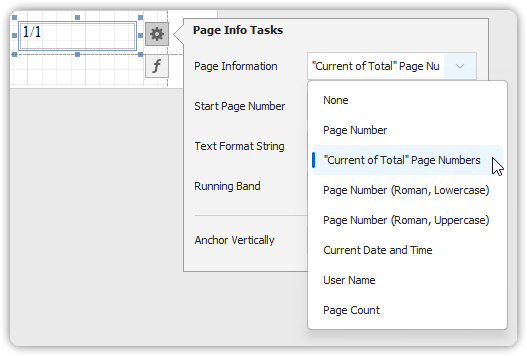
Add Page Numbers
- Select the Page Info control.
- Click the Smart Tag and expand the Page Information dropdown.
- Choose one of the following options:
- Page Number (e.g., 1, 2, 3…)
- Roman Numerals (uppercase or lowercase)
- Page Number and Total Pages (e.g., Page 1 of 5)
- To format the text:
- In the Smart Tag’s action list, set a custom format string (e.g.,
Page {0} of {1}).
- In the Smart Tag’s action list, set a custom format string (e.g.,
- Optional: Set the starting page number and running band (useful for grouped reports with separate page numbering per group).
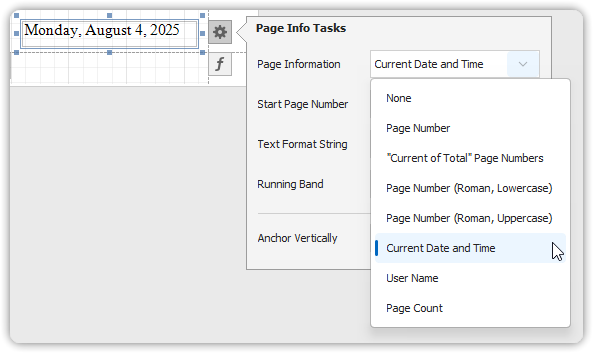
Add System Date and Time
- Select the Page Info control.
- Click the Smart Tag, expand the Page Information dropdown, and choose Current Date and Time.
- To format the output:
- Use the Format field directly
- Or click the ellipsis to open the Format String Editor
Add the User Name
- Select the Page Info control.
- Click the Smart Tag, expand the Page Information dropdown, and choose User Name.
- In the actions list, specify a format such as:
Current User: {0}
By using the Page Info control with formatting options, you can create polished, informative reports with contextual metadata displayed consistently across pages.