Add Parameters to a Report
Parameters allow you to make your reports interactive by prompting users to input values before the report is generated. These values can be used to filter data, customize layout, or drive calculated fields.
In this example, we’ll create two date-time parameters to filter orders by date range.
Steps to Add Parameters
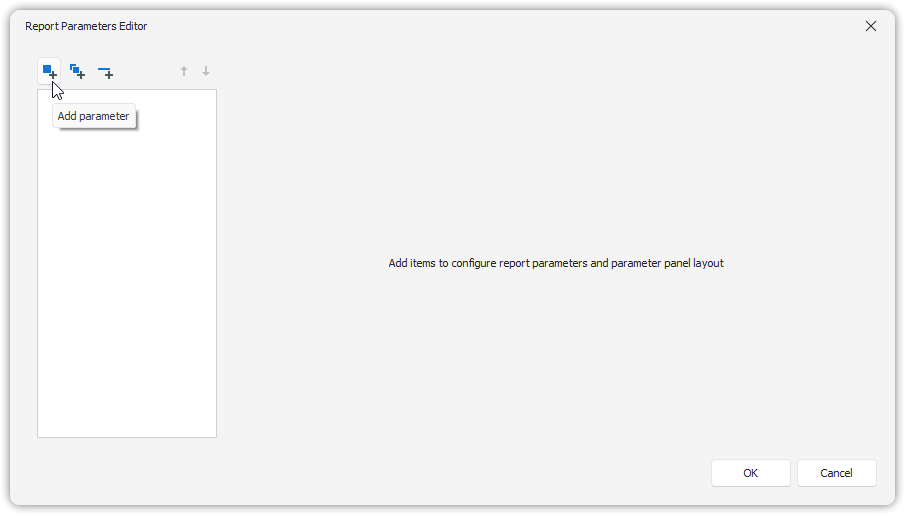
1. Add a Parameter
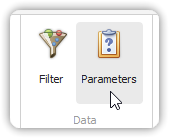
- In the Tool Bar, Click on the ‘Parameters’ button in the Data Group.
- This invokes the Parameter Dialog.
2. Configure the Parameter
In the configuration window:
- Set the Name (e.g.,
StartDate) and Description. - Set the Type to an appropriate value (e.g.,
DateTime).
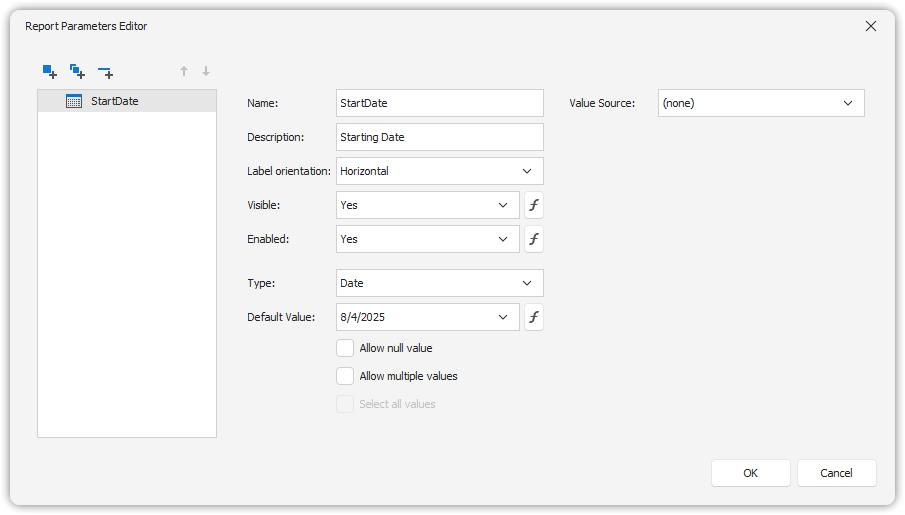
📝 Note: In Print Preview, the report won’t generate until values for all visible parameters are entered.
3. Add the Second Parameter
Repeat steps 1–3 to create a second parameter (e.g., EndDate).
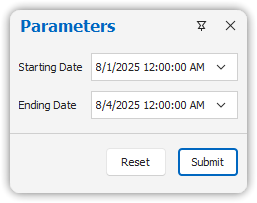
When the report is previewed, users will be prompted to specify both dates.
You can now use these parameters to filter data or reference them in expressions and calculated fields. Using the parameters in our filters is a powerful way to shape your report data.
See also: Using Filters and Using subreports