Changing User Options
Depending on your authorization, you may be able to change and save your personal settings.
To access these options:
- Open the Application menu
- Select User Options
💡 Be sure to click OK when closing the dialog to save your changes.
Notification, Report, and Refresh Settings
Found under the General Options screen:
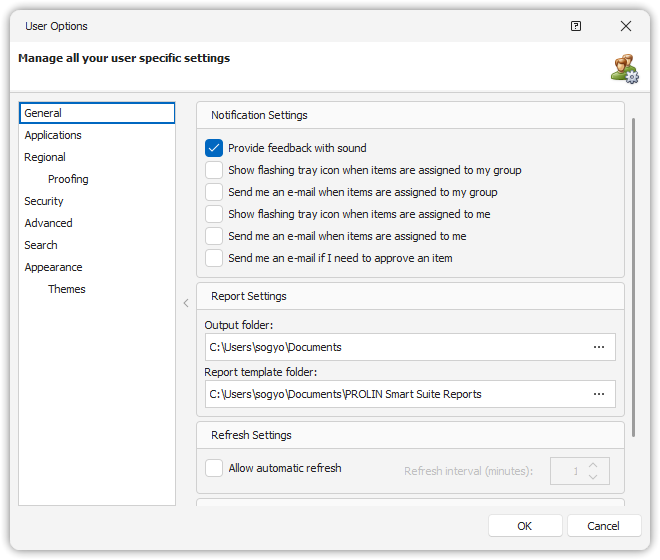
🔔 Notification Settings
- Provide feedback with sound – Adds sound to warnings and errors.
- Flashing tray icon for group-assigned items – Alerts you when new items are assigned to your group.
- Email notification for group-assigned items – Sends an email when an item is assigned to your group.
- Flashing tray icon for personally assigned items – Alerts you when new items are assigned directly to you.
- Email notification for personally assigned items – Sends an email for direct assignments.
- Email alert for approval requests – Notifies you when approval is required.
🗂️ Report Settings
Choose an output folder for saving reports by clicking the Browse button next to the Output folder field.
🔄 Refresh Settings
Enable automatic refresh to keep views up-to-date. Use this for dashboards or shared displays, but use caution—short intervals can generate high network traffic and reduce performance.
Application Settings
Located in the Applications tab of the User Options dialog.
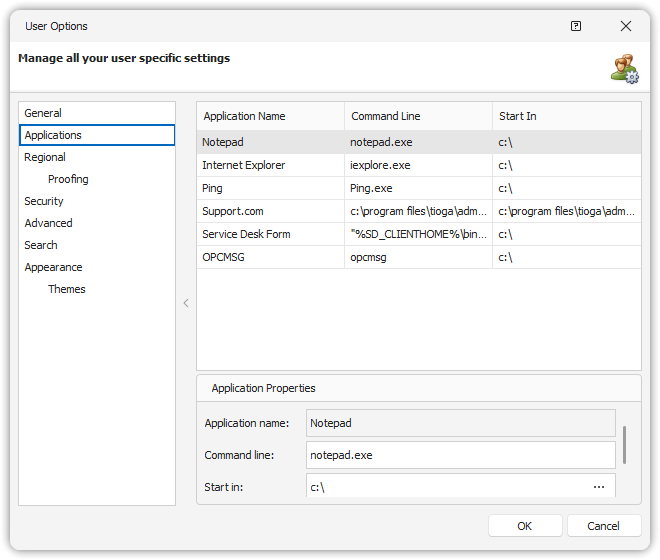
Used to configure Smart Actions:
- Select an application from the list.
- Set:
- Application name (used in Smart Actions)
- Command line (executable name only, no parameters)
- Working directory
- Click Test to validate the configuration.
🧠 The command line can include environment variables in the path.
Regional Settings
Adjust language, time zone, and date format in the Regional screen:
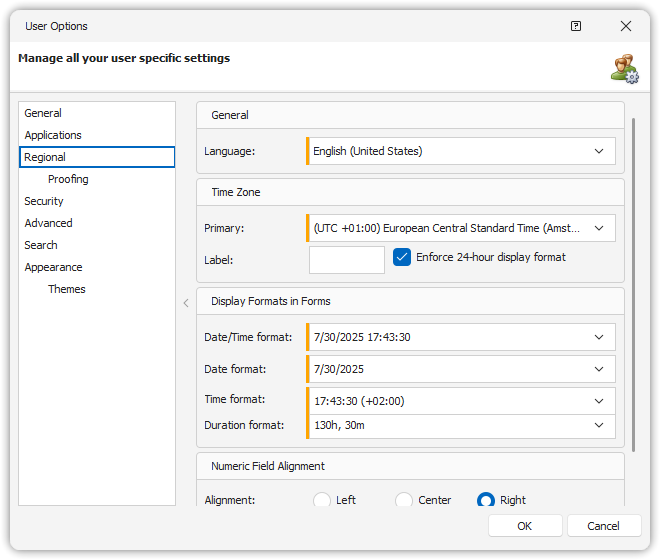
- Language – Sets UI labels and field names (based on available translations).
- Time Zone – Choose the zone where you work. All timestamps are stored in GMT and converted accordingly.
- Date and Time Format – Select the format most comfortable for you. Availability depends on OS language settings.
For view-specific formatting, see: Changing View Options
Login Account Management
Found in the Security tab of the User Options dialog.
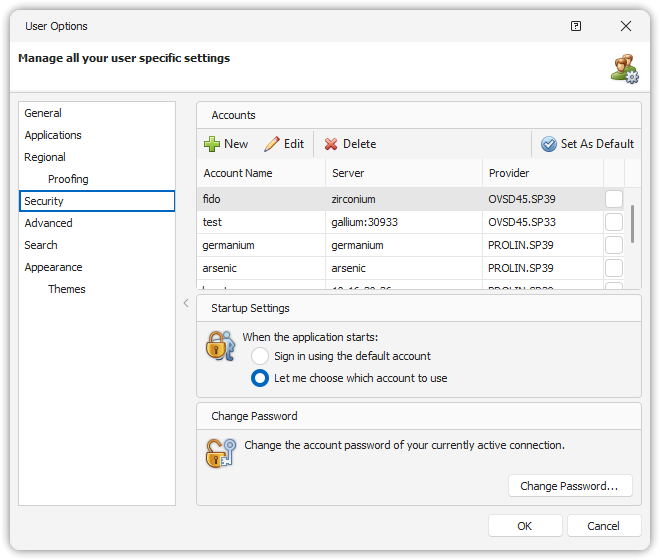
🔐 Manage Accounts
- Use New to add an account (e.g., for another server).
- Use Edit to modify settings or test a connection.
- Use Set as Default to set an account as the default for next startup.
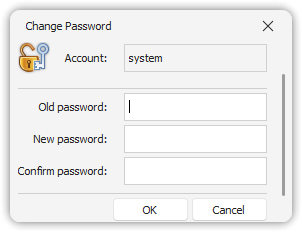
- Use Change Password to update the server-stored password securely.
✅ Always test a connection before setting an account as default.
⚠️ The Account Properties dialog does not create or modify server-side accounts.
Search Settings
Optimize performance in the Search tab:
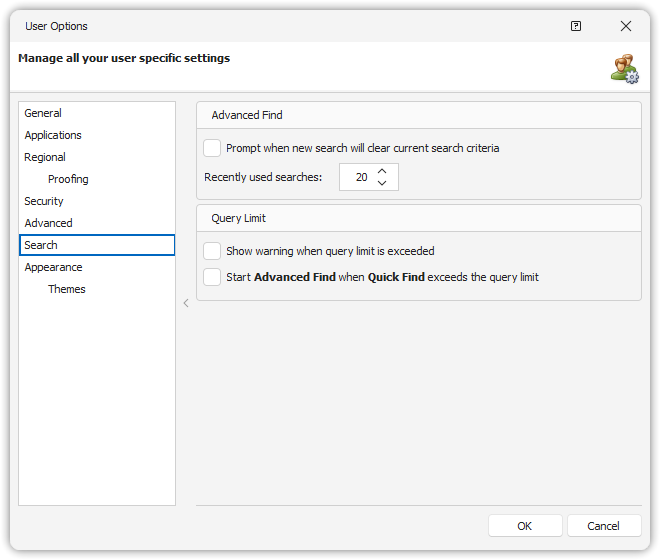
- Prompt before clearing criteria – Avoids unintentional resets and helps reuse filters.
- Recently used searches – Helps Smart Client learn search patterns (more = better optimization, but larger cache).
- Show warning on query restriction – Informs you if a search exceeds system-imposed limits.
- Use Advanced Find when Quick Find exceeds limits – Automatically switches to a better interface when results are large.
Appearance Settings
Improve visibility and accessibility by customizing appearance:
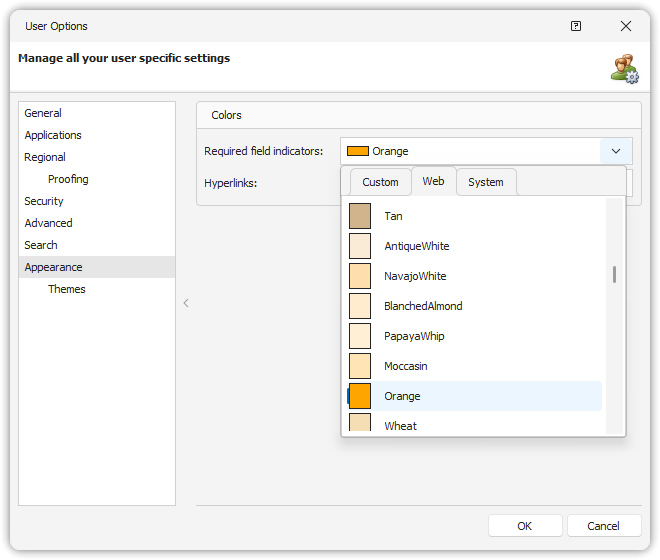
🎨 Required Fields
- A vertical colored bar appears next to required fields.
- A field may become required based on the value of another field (e.g., “Closure Code” required when “Status” = Closed).
Customize Indicator Colors
- Choose from Custom, Web, or System color tabs.
- These help highlight required fields more clearly.
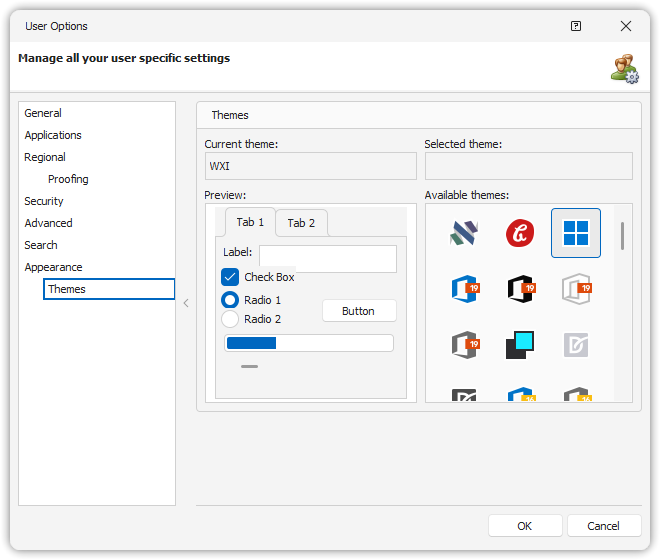
Choose a Theme
Modify the application’s overall look by selecting a different theme.
See also: - Required Fields - Accessibility - Using Shortcut Keys