Open Database Connectivity - ODBC
installation and configuration
version: 2024.10.6
date: February 2025
Introduction
Some of the tools in the SISpy family use an ODBC connection to connect to the Smart Suite application database.
An ODBC connection requires an ODBC driver.
Because all SISpy tools are 64-bit executables, you need a 64-bit ODBC driver.
The ODBC driver can be downloaded from the database vendor’s website.
A System Data Source Name (DSN) ties database connection specifics to a database driver. When using Microsoft SQL Server as a database, you need to set up a System DSN using the ODBC Data Sources (64-bit) Desktop app available in Windows.
When using Oracle as a database, installing the ODBC driver is enough.
The steps to download and install the ODBC driver, and optionally configure a System DSN using the desktop app is different for each database.
At the time of writing the tools only require Read access to the database. It is recommended to create a separate account for each tool that requires a connection as this might change in the future when new features are introduced.
SQL Server
Information about the Microsoft ODBC Driver for SQL Server can be found on the Microsoft ODBC Driver for SQL Server page.
Download
On the above-mentioned page, you should find a link to the Download page. Follow the link and locate the download for the most recent driver, i.e. ODBC Driver 18 for SQL Server (x64).
Install
The ODBC SQL Server driver download file is usually called msodbcsql.msi.
Verify on the File Properties page that the file in Unblocked and open the MSI.
You will be greeted with the Welcome page.
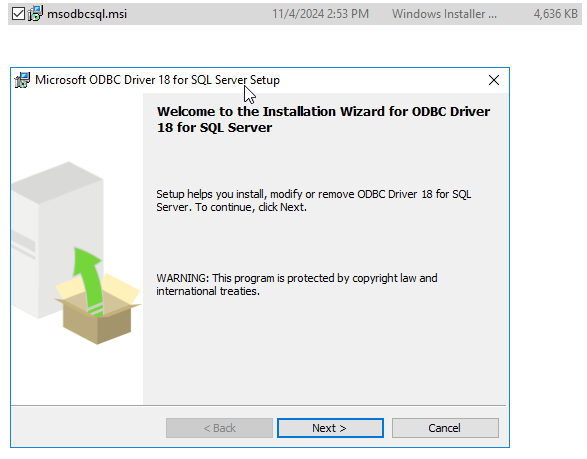
On the Welcome page click Next.
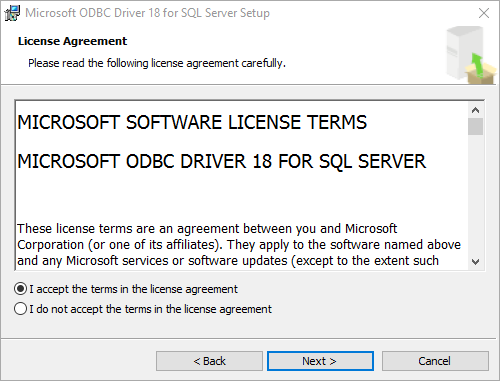
On the License Agreement page click Next.
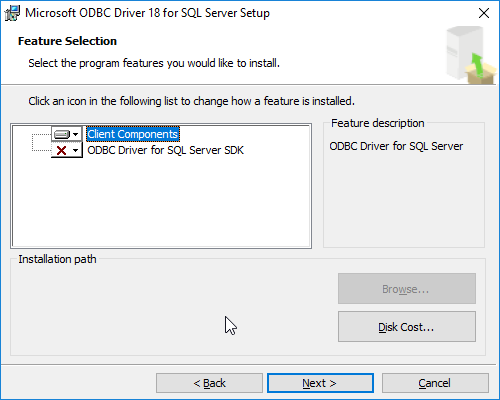
On the Feature Selection page accept the default selection and click Next.
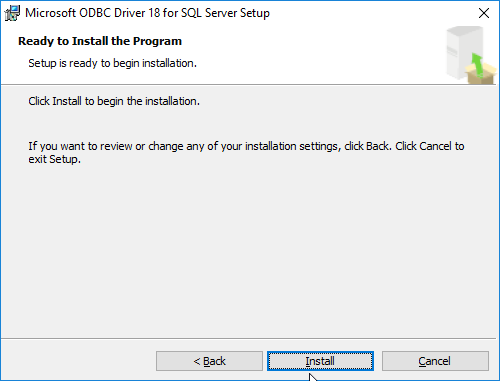
On the Ready to Install the Program page click Install.
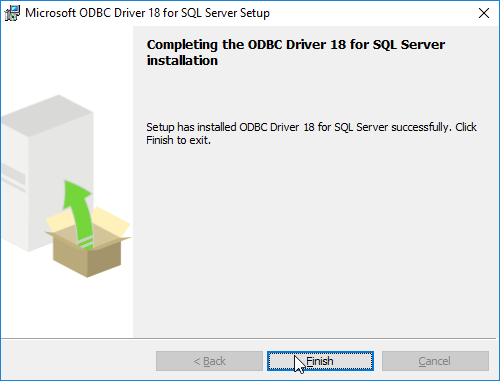
On the final page of the setup click Finish. Continue with the configuration steps.
Configure
Open the Start menu and type ODBC to get a list of application.
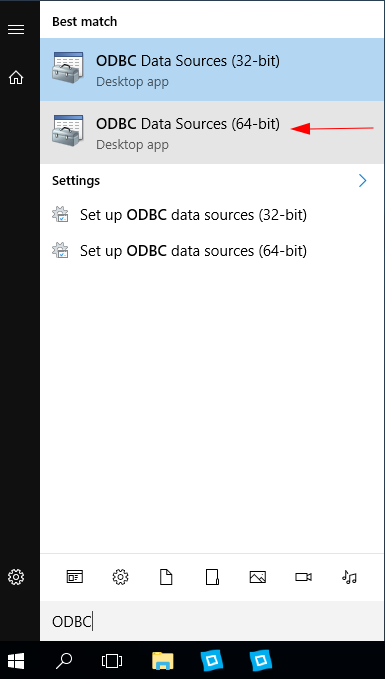
Select ODBC Data Sources (64-bit) desktop app.
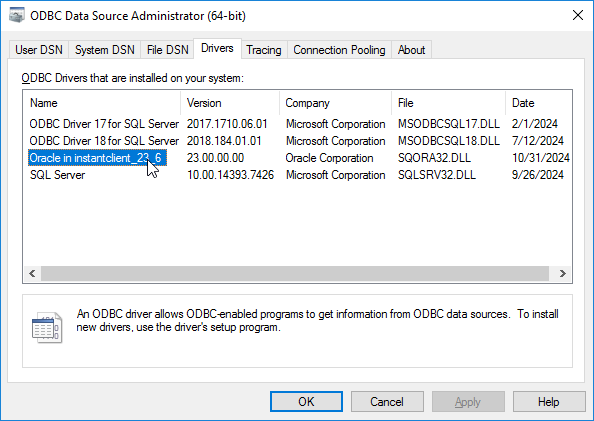
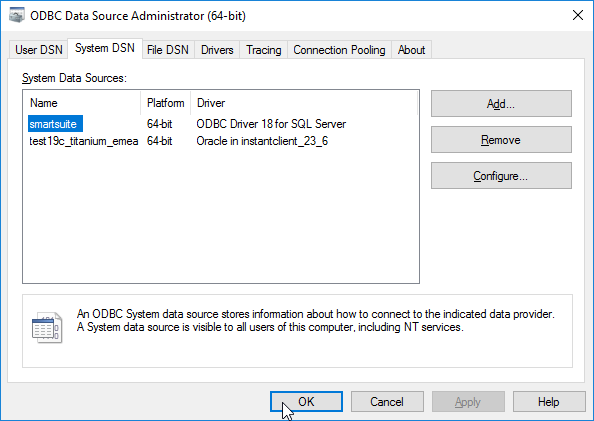
This will open the ODBC Data Source Administrator (64-bit) window like the one shown below.
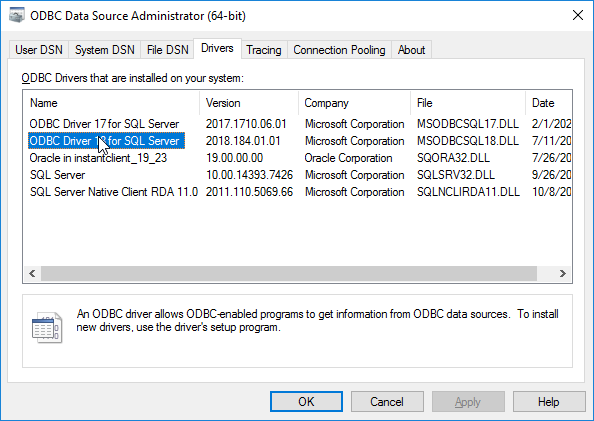
Open the Drivers tab and verify the ODBC Driver 18 for SQL Server is installed.
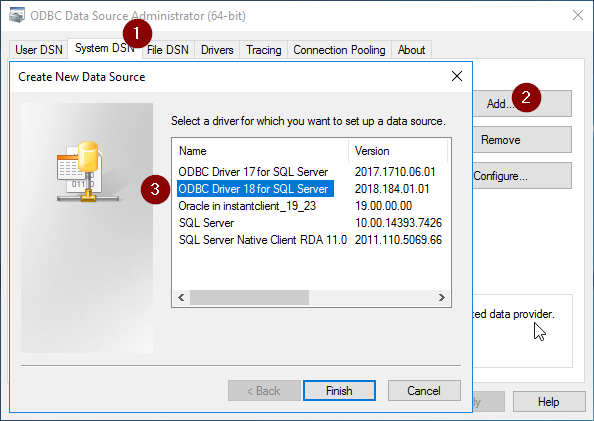
Open the System DSN tab, and click the Add button to create a new data source.
In the Create New Data Source popup select the correct driver, i.e. ODBC Driver 18 for SQL Server.
Click Finish.
This opens the Microsoft SQL Server DSN Configuration window.
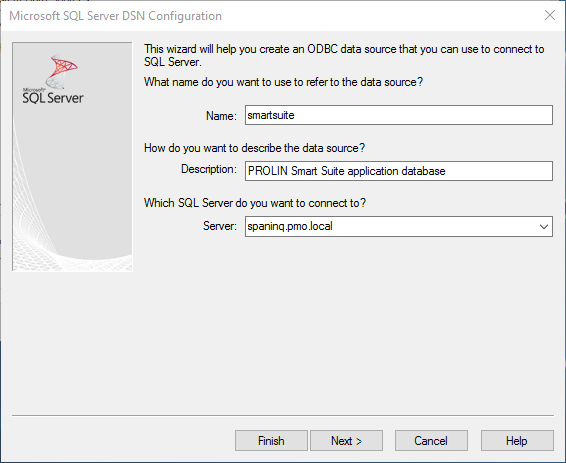
Navigate to the Name field and fill in a unique name for the data source.
When a SISpy tool configuration asks for a DSN, this name is the value you need to fill in.
Fill in an appropriate description in Description.
In the Server field you need to fill in the SQL Server server name that hosts the application database. Then click Next.
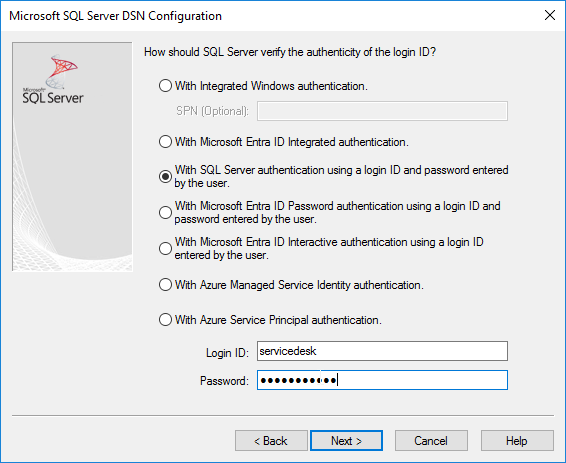
Select the With SQL Server authentication using a login ID and password entered by the user option, and fill-in the Login ID and password for an account with (read-only) access to the application database. Click Next.
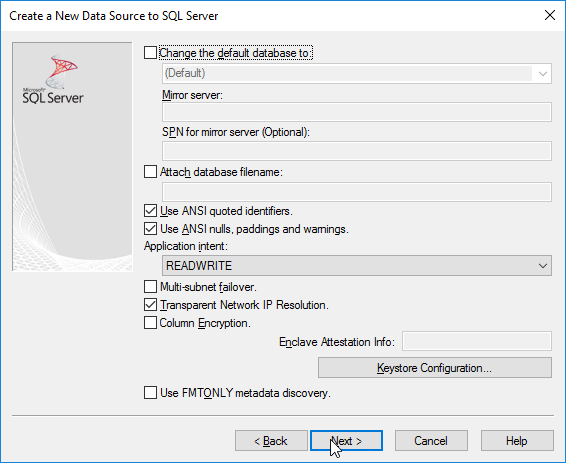
Keep the defaults and click Next.
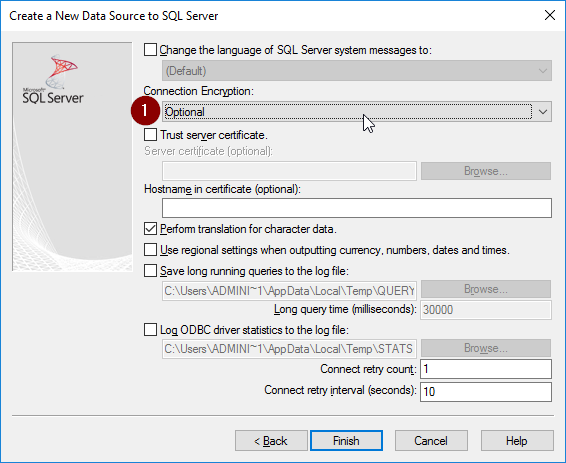
Navigate to the Connection Encryption option dropdown and select Optional.
Click Next.
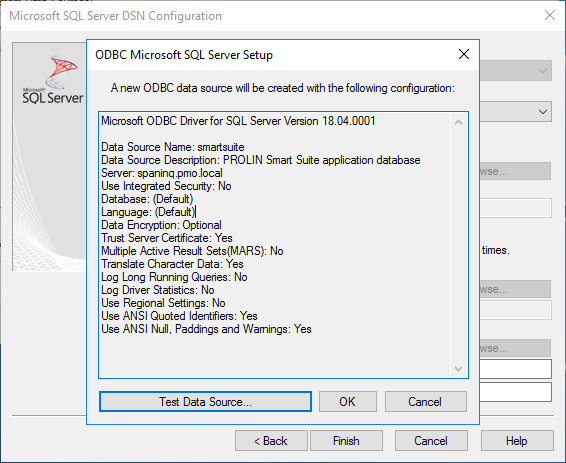
Verify the values listed in the popup and click Test Data Source.
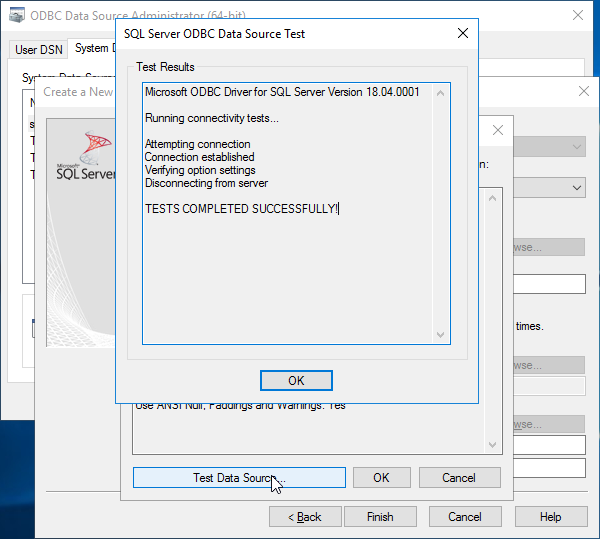
The Test Results should show TESTS COMPLETED SUCCESSFULLY!.
Click OK, OK, Finish to complete the configuration, and then Finish to close the ODBC Data Source Administrator app.
Oracle
The Oracle ODBC drivers are distributed as an add-on to the Oracle Instant Client software.
Information can be found on the Oracle Instant Client ODBC Installation Notes page. Scroll down to find the instructions for Windows. The site will likely ask you to switch to a different Oracle country site.
Download
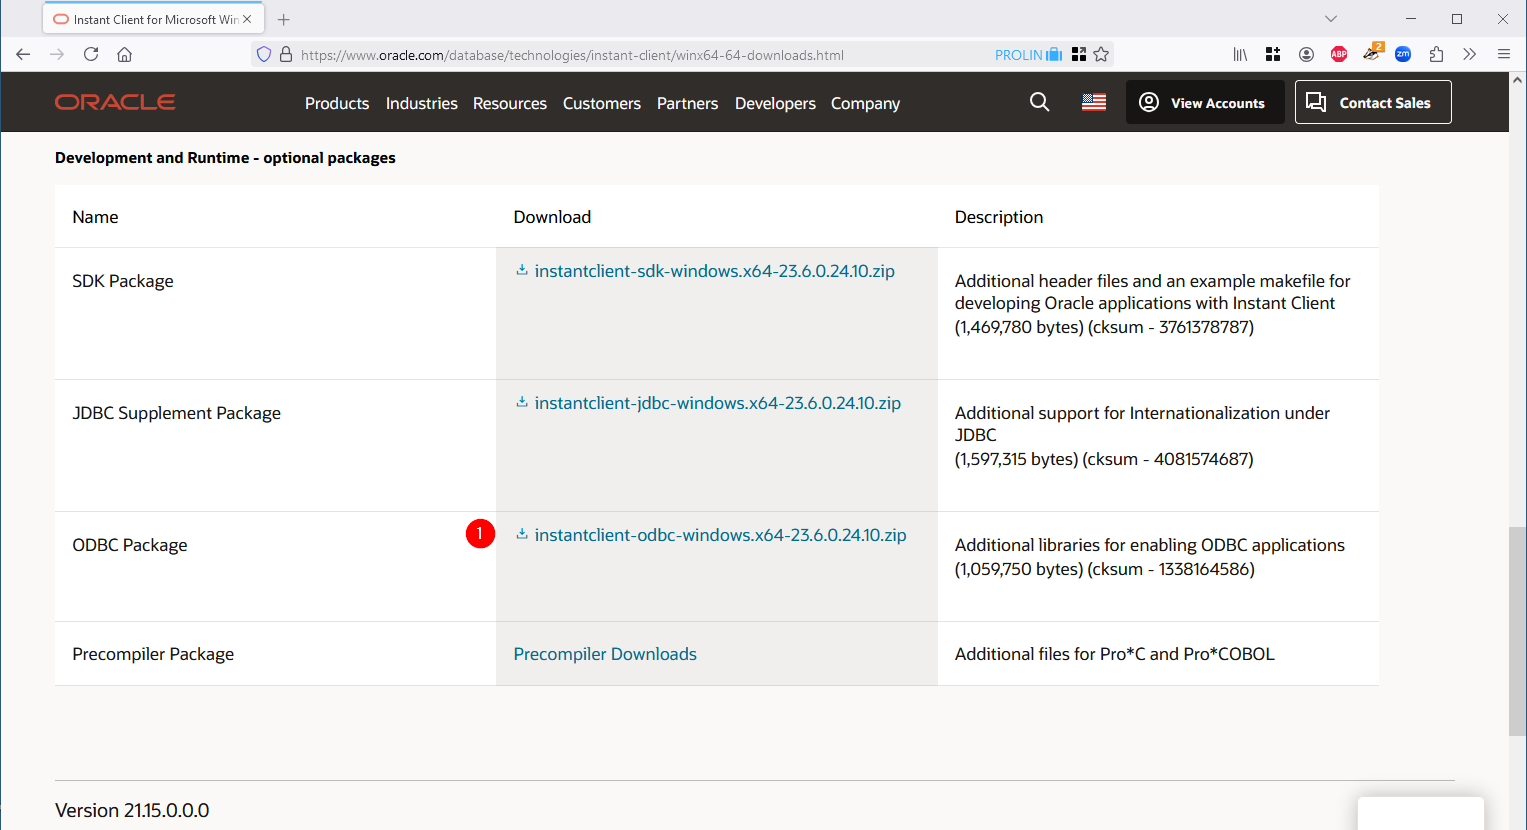
The instructions for Windows has the Instant Client ODBC package link, pointing to a page where you can find the Instant Client for Microsoft Windows (x64). The page contains dropdown sections per database version, e.g. 18, 19, 21, 23.
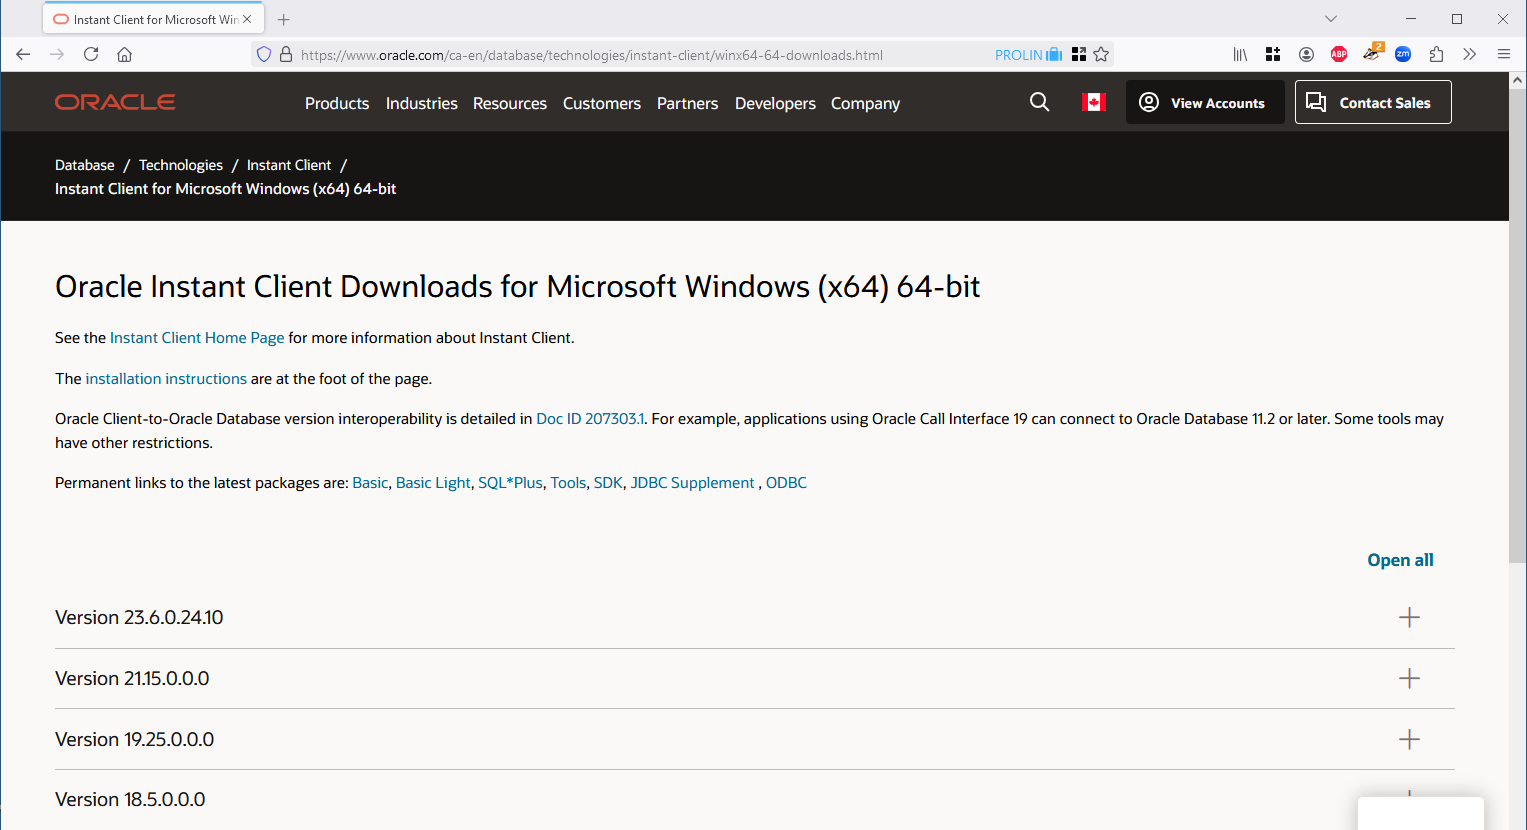
Select the dropdown for your database version, or a higher version. The software is regularly updated, and version numbers after the main database version number will go up.
If you have already installed the Instant Client software before, select the corresponding ODBC download,
or use the opportunity to upgrade the Instant Client Basic Package.
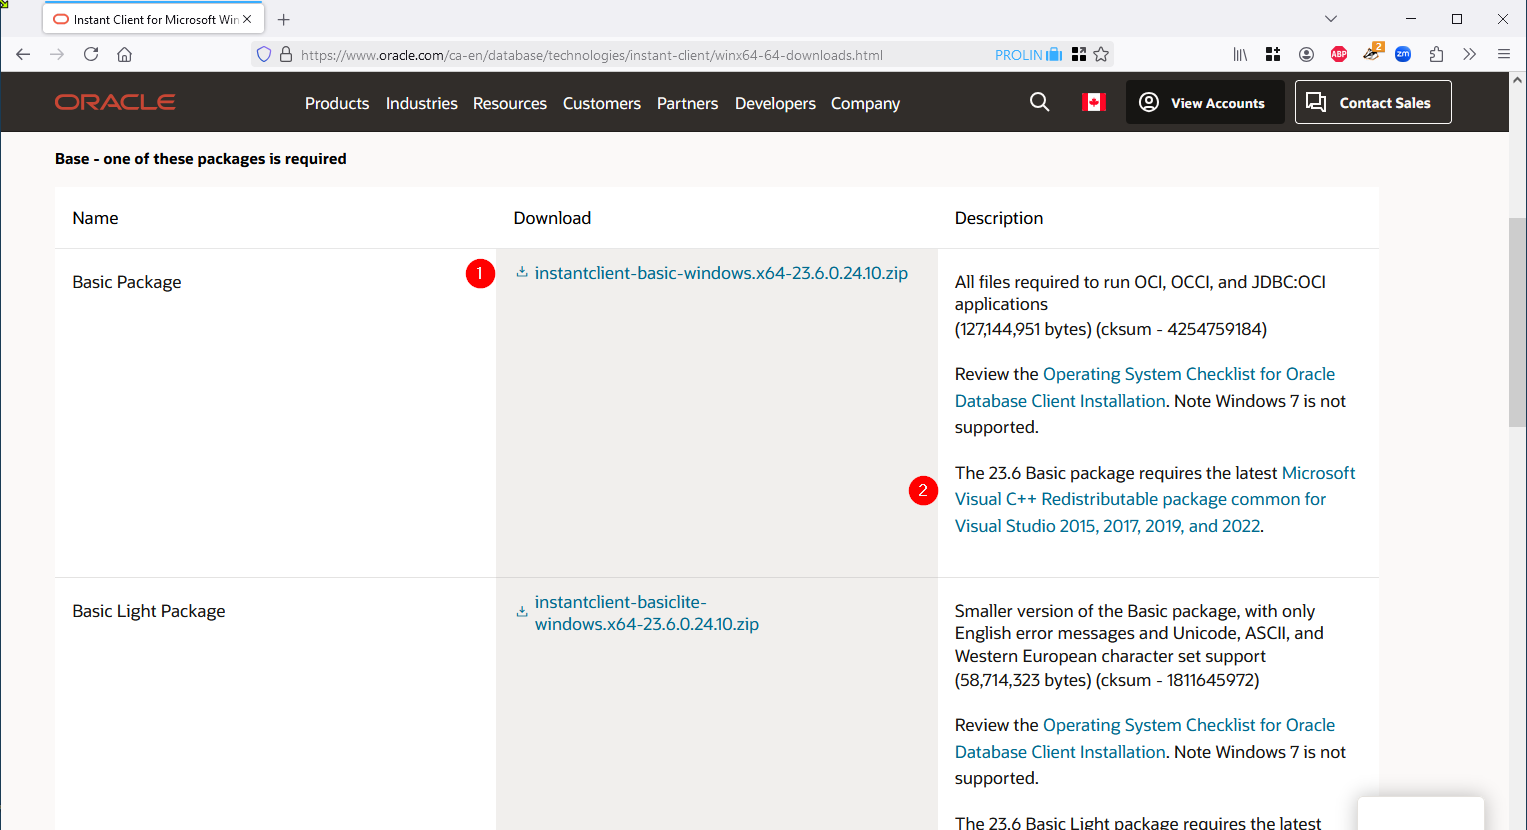
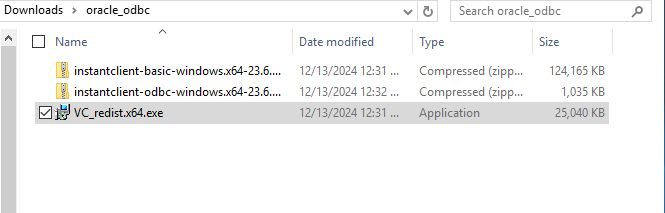
You need to download the Basic package (#1) as well as the Microsoft Visual C++ Redistributable package (#2).
Then scroll down.
You may find the packages in the Tools - optional packages section useful, but these are not required.
The Development and Runtime - optional packages section contains the ODBC package.
After downloading you will want to use the Properties on each file to Unblock the download.
Install
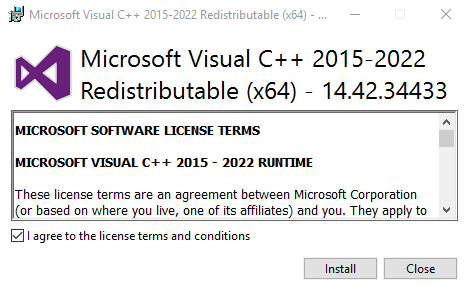
install the Visual C++ Redistributable
Navigate to the Downloads folder and locate the VC_redist.x64.exe file. Open/run the file to install the Microsoft Visual C++ Redistributable.
Agree to the license terms and click Install.
Wait while the software is installed.
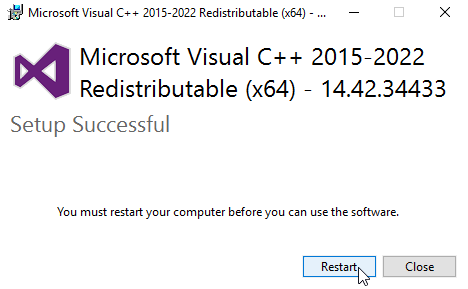
Restart the server as instructed.
Unzip the Basic and ODBC packages
Then after the required restart create a target folder to unzip the Oracle software to.
First unzip the Basic package to the target folder you just created.
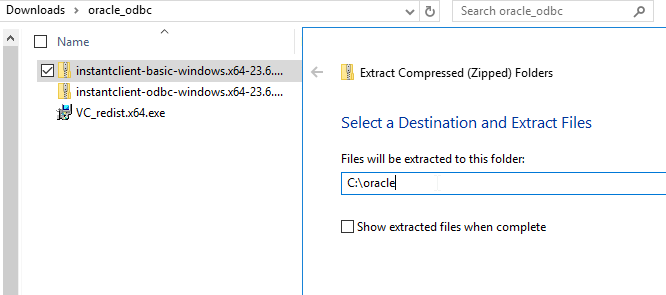
Then unzip the ODBC package to the same target folder.

The Basic and ODBC packages have a couple of files in common,
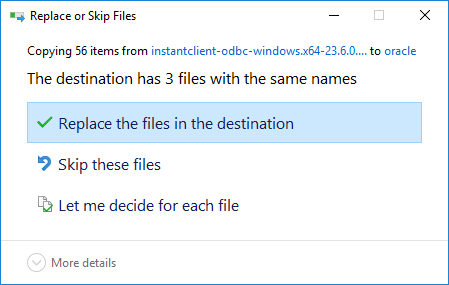
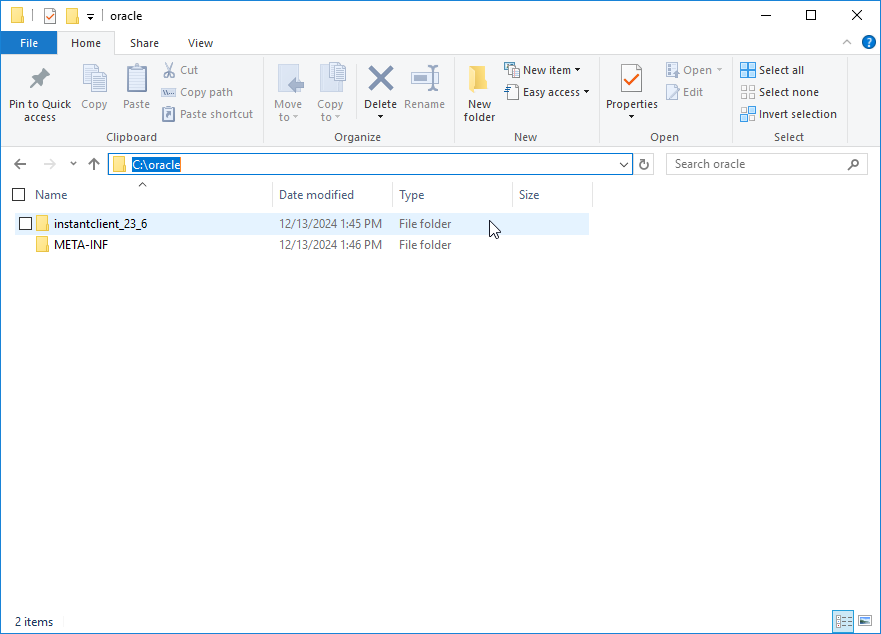
select to Replace those. The result should look like below.
Navigate to the target folder and into the Instant Client folder.
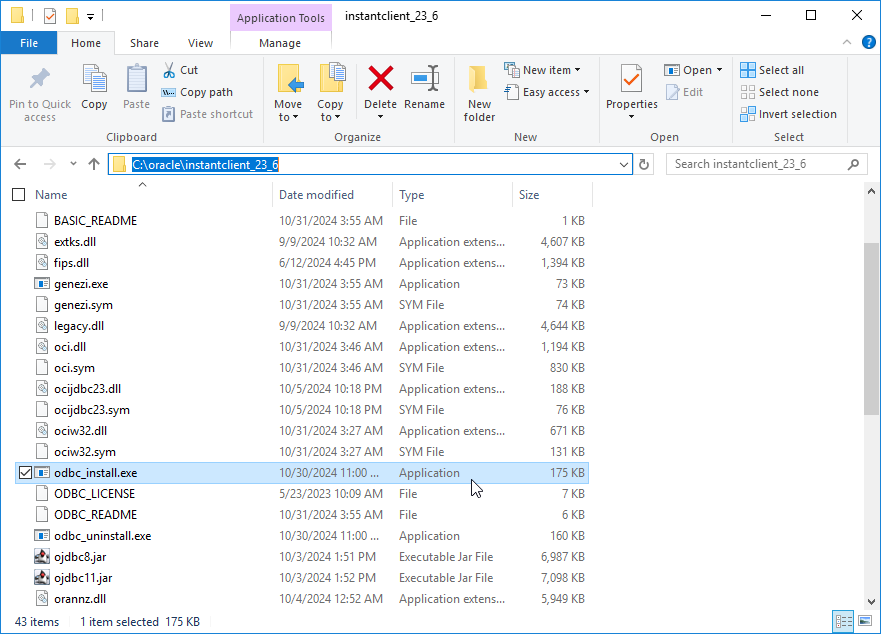
Locate and run odbc_install.exe.
You will not see any feedback usually.
You can verify that the driver has been installed in the ODBC Data Sources (64-bit) desktop app.
Add Instant Client folder to PATH
This is an important step.
You need to add the fully qualified name of the folder where you installed the Instant Client software to the System’s PATH environment variable, or the software will not work properly. You will see an error similar to the one below if the instant client folder is omitted from the PATH.
(cx_Oracle.DatabaseError) DPI-1047: Cannot locate a 64-bit Oracle Client library: “The specified module could not be found”.
Configure
When stepping through one of the SISpy tool’s configuration process, you will need to provide credentials and details like database server name, database instance and port number.
The tool uses the Oracle ODBC driver, but not a System DSN.
Which means you do not need to configure a Data Source Name using the ODBC Data Sources (64-bit) desktop app, unless you want to run a connectivity test.
For this you need to set up a TNSNAMES.ora file in the local network/admin folder, or one in the shared TNS_ADMIN location.
If you (plan to) use the Oracle Instant Client in combination with Power Server, i.e. using the so-called Thick driver, you need to set up a TNSNAMES.ora file, if you have not already done so.
An example TNSNAMES.ora entry could look like below.
TEST19C.emea =
  (DESCRIPTION =
    (ADDRESS = (PROTOCOL = TCP)(HOST = titanium.emea.prolin.local)(PORT = 1524))
    (CONNECT_DATA =
      (SERVER = DEDICATED)
      (SERVICE_NAME = TEST19C.emea.prolin.local)
    )
  )
create a data source name for a connectivity test
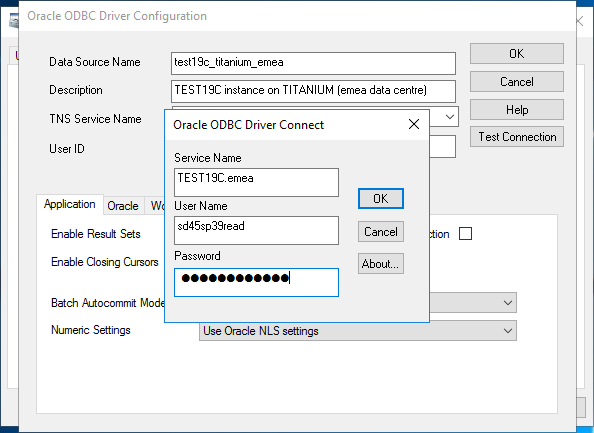
If you want to verify that the driver is installed correctly, and you have the proper details to configure the connection, you can set up a Test DSN in the Open the ODBC Data Sources (64-bit) desktop app and go to the System DSN tab.
Click the Add button, and select the Oracle ODBC driver from the list.

Click Finish.
This will open a second form where you need to fill in a data source name and description, a TNS name and an oracle account.
Click Test Connection.

Fill in the oracle password for the account and click OK. (the password is not stored)
The Connection successful result means the Oracle ODBC driver is correctly installed, the configuration is correct, and the database can be reached.
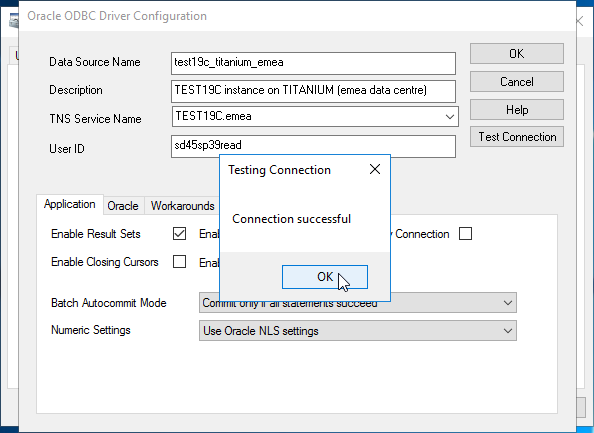
Click OK enough times to get back to the main screen.
Another OK to leave the application.